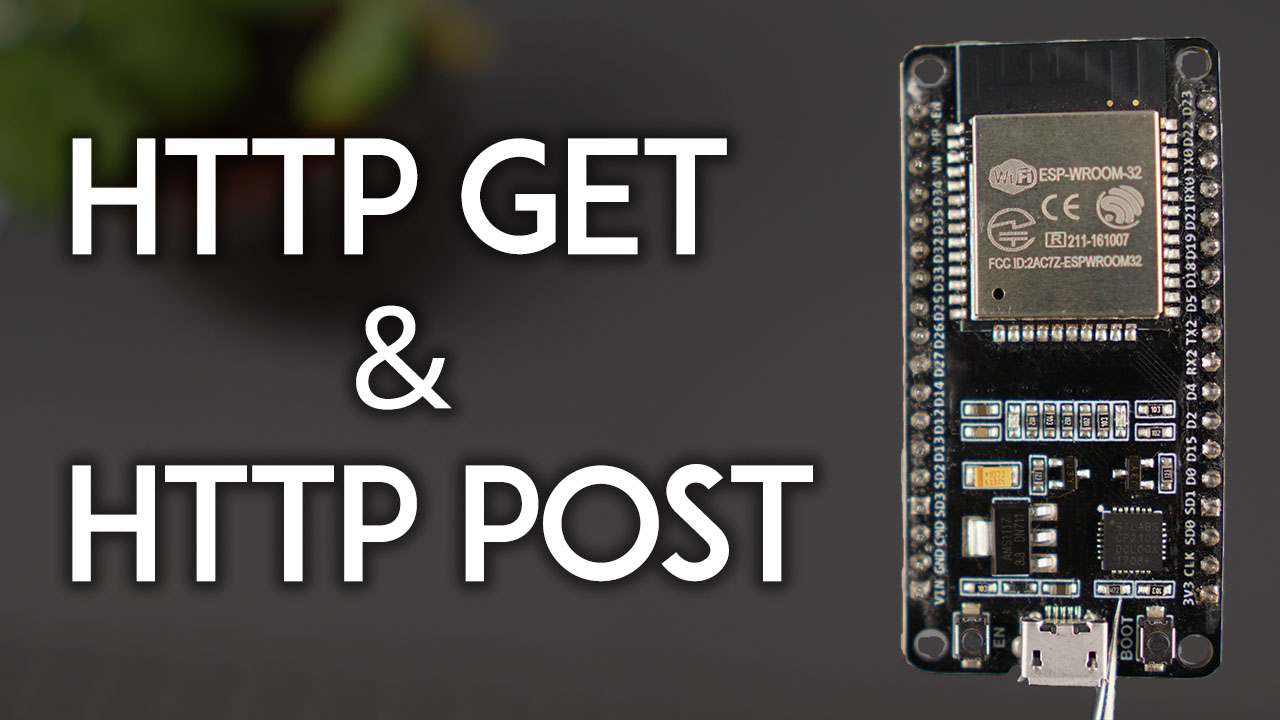
Setup Overview
-
Hardware Requirements:
- ESP32 board.
- Access to a Wi-Fi network.
-
Libraries:
WiFi.hfor managing Wi-Fi connectivity.HTTPClient.hfor sending HTTP GET and POST requests.
-
Target URL:
- Replace the placeholders with your desired server's endpoints.
Hardware Requirements:
- ESP32 board.
- Access to a Wi-Fi network.
Libraries:
WiFi.hfor managing Wi-Fi connectivity.HTTPClient.hfor sending HTTP GET and POST requests.
Target URL:
- Replace the placeholders with your desired server's endpoints.
arduino
#include <WiFi.h>
#include <HTTPClient.h>

// Replace with your network credentials
const char* ssid = "YOUR_WIFI_SSID";
const char* password = "YOUR_WIFI_PASSWORD";

// Server URL
const char* serverName = "http://jsonplaceholder.typicode.com/posts/1"; // Example API

void setup() {
  Serial.begin(115200);

  // Connect to Wi-Fi
  WiFi.begin(ssid, password);
  Serial.println("Connecting to Wi-Fi...");
  while (WiFi.status() != WL_CONNECTED) {
    delay(1000);
    Serial.print(".");
  }
  Serial.println("\nConnected to Wi-Fi.");
}

void loop() {
  if (WiFi.status() == WL_CONNECTED) {
    HTTPClient http;

    // Start the HTTP GET request
    http.begin(serverName);
    int httpResponseCode = http.GET();

    if (httpResponseCode > 0) {
      String payload = http.getString(); // Get the response payload
      Serial.println("HTTP Response Code: " + String(httpResponseCode));
      Serial.println("Response Payload: " + payload);
    } else {
      Serial.println("Error on HTTP request: " + String(httpResponseCode));
    }

    http.end(); // Free resources
  } else {
    Serial.println("Wi-Fi Disconnected");
  }

  delay(10000); // Wait for 10 seconds before the next request
}
arduino
#include <WiFi.h>
#include <HTTPClient.h>

// Replace with your network credentials
const char* ssid = "YOUR_WIFI_SSID";
const char* password = "YOUR_WIFI_PASSWORD";

// Server URL
const char* serverName = "http://jsonplaceholder.typicode.com/posts"; // Example API

void setup() {
  Serial.begin(115200);

  // Connect to Wi-Fi
  WiFi.begin(ssid, password);
  Serial.println("Connecting to Wi-Fi...");
  while (WiFi.status() != WL_CONNECTED) {
    delay(1000);
    Serial.print(".");
  }
  Serial.println("\nConnected to Wi-Fi.");
}

void loop() {
  if (WiFi.status() == WL_CONNECTED) {
    HTTPClient http;

    // Start the HTTP POST request
    http.begin(serverName);
    http.addHeader("Content-Type", "application/json"); // Specify content type

    // JSON payload for the POST request
    String postPayload = "{\"title\":\"foo\",\"body\":\"bar\",\"userId\":1}";
    int httpResponseCode = http.POST(postPayload);

    if (httpResponseCode > 0) {
      String response = http.getString(); // Get the response payload
      Serial.println("HTTP Response Code: " + String(httpResponseCode));
      Serial.println("Response Payload: " + response);
    } else {
      Serial.println("Error on HTTP request: " + String(httpResponseCode));
    }

    http.end(); // Free resources
  } else {
    Serial.println("Wi-Fi Disconnected");
  }

  delay(10000); // Wait for 10 seconds before the next request
}
3. Key Points
-
Wi-Fi Connection:
- Ensure the ESP32 is connected to Wi-Fi before making HTTP requests. Use
WiFi.status()to check the connection.
- Ensure the ESP32 is connected to Wi-Fi before making HTTP requests. Use
-
HTTPClient Methods:
.GET(): Sends an HTTP GET request..POST(payload): Sends an HTTP POST request with the specified payload..addHeader(key, value): Adds headers to the HTTP request..getString(): Retrieves the response payload as a string.
-
Error Handling:
- Check the HTTP response code returned by
.GET()or.POST(). Codes in the range 200–299 indicate success.
- Check the HTTP response code returned by
-
Content-Type:
- Always set the appropriate
Content-Typeheader for POST requests (e.g.,application/json,application/x-www-form-urlencoded).
- Always set the appropriate
4. Testing the Code
- Use services like jsonplaceholder.typicode.com or your own server for testing.
- Use tools like Postman to debug server-side behavior.